Mrs Humanities

teacher . blogger . friend


1 Comment

Resource – Keep Learning Sheets

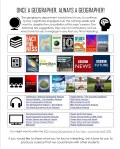
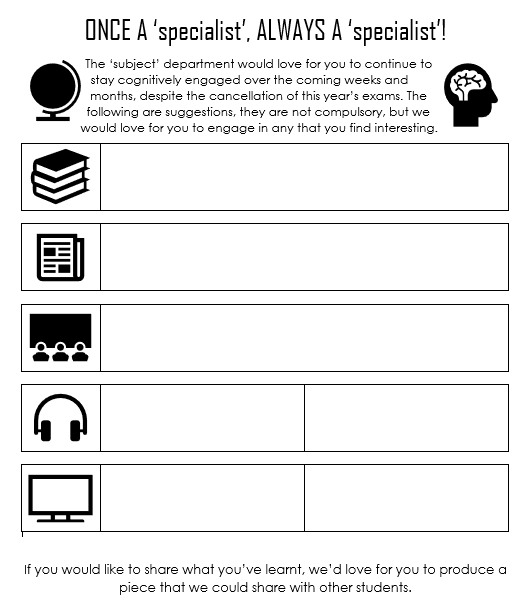
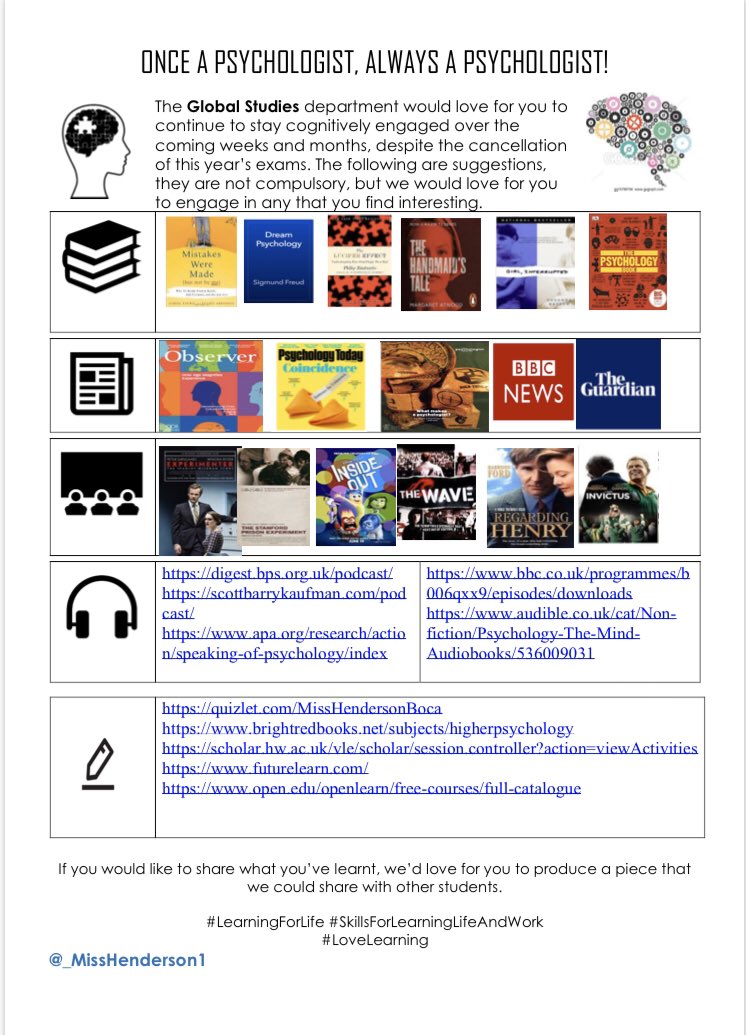
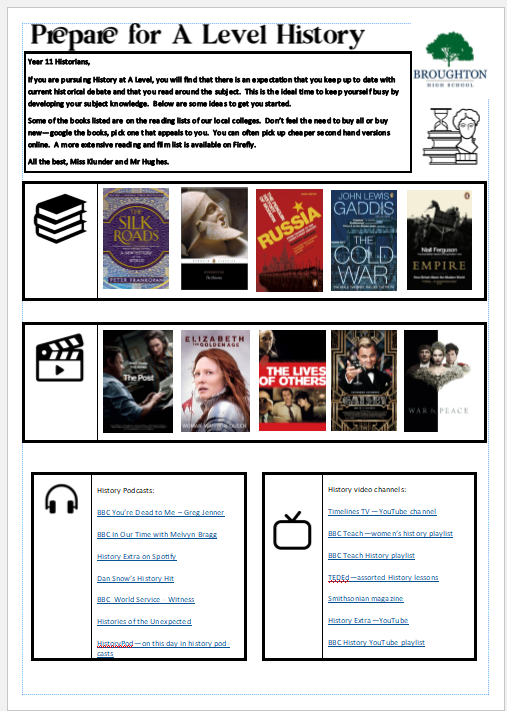
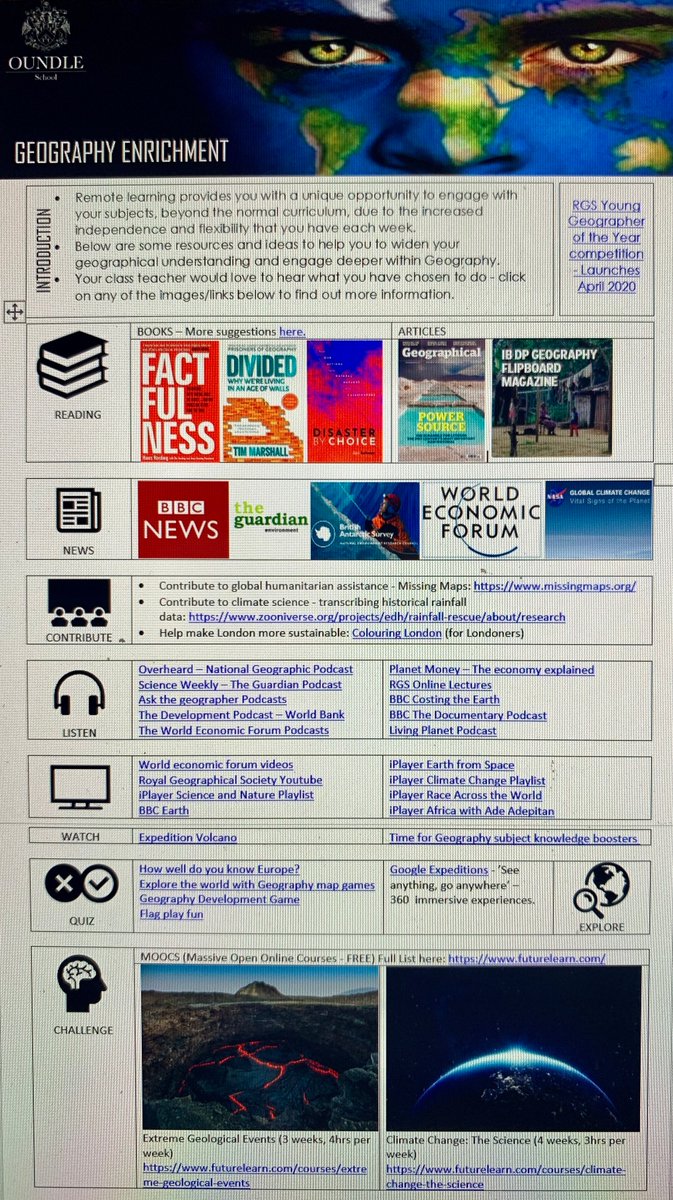
The other day I shared my ‘Keep learning…’ sheet to help year 11 and year 13 to continue learning despite the cancellation of this year’s exams.

Since then others have downloaded the template and made there own for a wide range of subjects.

Initially I added them to the original post however the numbers are rapidly increasing and the post has gone from one page to two. To make it easier, I’ve collated them into a single folder.

Click here to access the sheets

A massive thank you to all those that have already shared their version. And if you have made your own version and you are happy to share it, either pop it in cloud storage and DM me a link or email me at mrshumanities@outlook.com

Hope you can make use of the resources so kindly shared.

Best wishes,


Leave a comment

Resource – Metacognition in Lessons

If you haven’t already read my post on metacognition in the classroom, I’d suggest starting there as it provided some context to the resource I’m sharing in this post.

I first came across the term ‘meta-cognition’ 4 years into my teaching career when I attended a Stretch and Challenge Conference back in 2015. Yet I’d been applying meta-cognitive strategies since I started teaching. Once I was able to put a name to the strategies I employed it opened up a world of other examples, evidence and approaches. Since then it forms a regular part of my teaching practice and is fundamental to the feedup-feedback-feedforward cycle that’s constantly implemented in my classroom.

As a subject leader however, I didn’t feel it was as embedded across my department as I would have liked. So over the summer I set about creating a resource that would help my team to apply metacognitivie practices in their classroom. It started with a PowerPoint split into two parts, first part information and guidance on metacognition for staff whilst the second part consisted of question slides for use with students. I don’t use the resource myself, however these are the kinds of questions I ask students as we plan, as they work, as they reflect and as we evaluate.

I hope the PowerPoint is a resource from which my colleagues will extract ideas from for their own lesson planning.

Teacher Slides

I’ll be making use of these in the first subject collaboration session later in this term to outline what metacognition is and how it should be applied within geography as part of our day to day teaching practice.

Student Slides

These slides are simply a range of questions associated with the following stages of the teaching process used in MYP Geography:

  • Planning (feed-up)
  • Monitoring (feedback – student to teacher, peer to peer)
  • Evaluation (feedback – student to teacher, teacher to student)
  • Reflection (feedforward)

One of my objectives for the last academic year was to develop student understanding of MYP I&S Criterion B – Investigation (more info here). This meant developing our students understanding of inquiry planning, effective research, academic honesty and assessment of sources within the context of geography. Many of the questions incorporated in the student slides I’ve incorporated into the resources I’ve been building to develop the elements above (I’ll write more about these in due course).

If you’d like a copy of the Powerpoint, simply click here. Hope you can find it of use.

Best wishes,


1 Comment

Meta-cognition in the Classroom

I first came across the term ‘meta-cognition’ 4 years into my teaching career when I attended a Stretch and Challenge Conference back in 2015. Yet I’d been applying meta-cognitive strategies since I started teaching. Once I was able to put a name to the strategies I employed it opened up a world of other examples, evidence and approaches.

What is Meta-cognition?

Put simply, it’s thinking about thinking.

However in reality is far more than just thinking about thinking. It’s active monitoring. It’s continual awareness. It’s our response and behaviours.

“Awareness of one’s own thinking, awareness of the content of one’s conceptions, an active monitoring of one’s cognitive processes, an attempt to regulate one’s cognitive processes in relationship to further learning, and an application of a set of heuristics as an effective device for helping people organize their methods of attack on problems in general”


Hennessey, 1999

It’s made up of two elements, meta-cognitive knowledge and regulation. The knowledge element being made up of the learner’s awareness of their cognitive abilities whilst the regulation refers to how learners monitor and respond to their cognitive processes.

Being able to consider, monitor and control how you learn, how you think and how you overcome struggles are vital qualities to build in our students in preparation for both exams and their futures.

“Metacognition describes the processes involved when learners plan, monitor, evaluate, and make changes to their own learning behaviours.”


Cambridge Assessment, 2017

Developing Independent Learners

I’ve posted many a time on strategies, resources and ideas for developing independent learners, but all to often I’ve not taken the time to discuss the use of meta-cognition in my drive to develop independent, self-directed learners.

I’m sure many readers will already apply elements of meta-cognition into their teaching but may not necessarily know it.

“Too often, we teach students what to think but not how to think.”


OECD Insights, 2014

I remember making use of some strategies back when I worked in EYFS between my PGCE and first teaching position. For instance when we were seeing what would happen to seeds grown in different locations I asked the children what they thought might happen and what made them think that, at which point they would apply knowledge they’d gained from other experiences. This led into a discussion of how they learnt that. Even at pre-school age they could think about what they knew and how they learnt it.

Encouraging and engaging learners to think about how they learn, the struggles they experience, how they overcome them and how to apply responses to future learning is essential to building independence in the classroom, so that when our students leave compulsory education they have the resilience and tools to be lifelong, responsible learners.

Below is a video of Dylan William discussing the importance of young people being able to reflect on their learning and how this has impacted his teaching practice.

In the Classroom

Until I started exploring meta-cognition, although I was applying elements in my classroom already I hadn’t been using it to its full potential. Once I got to grips with the theory, evidence and strategies I feel my practice developed and improved along with my understanding of my learners.

In my classroom you’ll see elements of meta-cognition on a regular basis from the planning stage to the reflection stage by both myself and my learners.

If you take my average year 8 extended writing task we will do the following:

Planning Stage
– discuss the aims and objectives of the task
– identify prior learning that will be relevant
– discuss prior strategies and struggles in applying the required skills e.g. evaluation
– review targets and identify which will be of relevance to the task or seek out new ones
– consider application of targets in this piece of work

Monitoring Stage
– as students work, meta-cognitive questions are asked about their progress and how they are monitoring their progress towards the aims and objectives of the task
– students are asked about the challenges they have experienced so far and how they’ve overcome them
– students peer and/or self assess the work against specific success criteria or using the ACE peer assessment strategy

Evaluation and Reflection Stage
– students are prompted to consider their success in the strategies they applied to achieve the aims and objectives of the task or learning goal either through questioning or written review.
– students are asked question such as
‘How well did you do at….?’
‘Is there anything that didn’t go well? What could you have done differently?’
‘What did you find hard with this task? How did you overcome this?’
‘What will you try to take away from this that you can apply to future work?’.

Impact

When I started at my current school there was a class I started with in year 8, I taught them again in year 9 and continue to teach some of them in year 10 at present. Over that time, I’ve witnessed their ability to self-regulate develop and grow as has their independence and enjoyment in the learning process. The ones I still teach, I do less for them now when it comes to meta-cognition. They’ve been scaffolded through the stages, supported in developing their independence and I’m now there to facilitate and support their self-regulation through meta-cognition. It really does support learners independence.

Useful resources

The EEF last published some useful resources on Meta-cognition and self-regulated learners including the summary sheet below.

Metacognition and self-regulation evidence from the Education Endowment Foundation

Metacognition and self-regulated learning from the Education Endowment Foundation

Getting started with Metacognition from Cambridge International Education Teaching and Learning Team
h

Metacognition from Cambridge International

Meta-cognition: A Literature Review from Emily R. Lai

Hope you find the post of use. Feel free to share any other useful links in the comments.


1 Comment

Mrs Humanities shares… 5 strategies for developing independent learners

mrs humanities shares

Are we doing too much for our learners? This question has plagued me a lot recently.

I’ve seen hundreds of fabulous resources that take the hard work out of learning for our students. That remove the responsibility from students to teacher. That take the independence from the learning process. That make them dependent on us, their teachers.

Now I’m sure many people will argue with me that it’s a result of increased scrutiny; the unrealistic performance management targets; the use of target grades etc. Which are all completely valid arguments and I agree, but it still scares me that so many teachers are doing so much for their students. Things that take away their students responsibility and independence in the learning process.

Things like case study guides with all of the content students need, completed knowledge organisers, again with all of the content students need. Completed exam questions, so students can learn to replicate. Revision booklets again with all of the content. It all worries me.

I’ve never hidden the fact that I facilitate learning, that my aim as a teacher is to make my students as independent as possible in my classroom and in their learning. That I want my students to leave school being able to learn for themselves; to be able to critically analyse and evaluate; to design and create; to research effectively; to be responsible for their own learning; to want to continue learning after compulsory education.

I’ve created numerous posts on developing independent learners such as these

Developing Independent Learners – Help Yourself Display and Resource Station

Developing Independent Learners – Seating Plans

Developing Independent Learners – Attempts at Flipped Learning

Developing Independent Learners

Developing Independent Learners – Independent Learning Projects

Developing Independence in the Humanities Classroom

Although my practices have evolved and changed over the last 4-5 years, developing independent learners is still at the core of my teaching.

Some ways I approach ‘developing independence’ are as follows

1 // ‘Help Yourself’ stations

I’m a big believer that students should learn to take responsibility for their progress and learning. That we should facilitate them in any way we can to help and support them but at the end of the day, we don’t sit their exams. That’s down to them.

Here’s some further reading from Tom Rogers if you’re interested

Anyway, whilst I do differentiate for students individual needs I also believe that students need to be able to identify when they need support and should develop the ability to be able to work out for themselves what that support looks like.

Therefore in my classrooms for the last 4 years, there have been a ‘help yourself’ areas or stations. This is an area where students can find resources that can support them in a variety of ways. For instance students can find sentence starter mats to help get them started with a variety of extended writing tasks, topic platemats/knowledge organisers that provide the key content of topics (see below for more details), blank maps, atlases, peer and self assessment sheets, note taking templates, timeline sheets and the list goes on. All of which students can help themselves to in order to help them with the tasks they are undertaking.

Initially I will direct students to particular support and overtime encourage them to help themselves to the resource they feel appropriate. Usually as students start to recognise their areas of ‘weakness’ they can independently select the appropriate support strategy.

Read more on ‘Help Yourself’ stations in my original post here.

2 // Project Breakdown

I start year 7 with a homework project that is broken up into smaller chunks, each with their own deadline. We cover map and atlas skills to ensure all students embark on the rest of their geographical learning with the basic skills required.

Student’s therefore complete a project as homework over the course of the first term on a European country of their choice. Each chunk of the project fits with the work covered in class allowing the students to demonstrate the skills and knowledge they developed in the lesson.

The breaking down of the project into chunks develops students time management skills and teaches them to break down a project over time to ensure they do not complete other projects just before the deadline.

Over time these breakdowns are removed so students can independently carry out projects without the haste of

3 // Blank or Basic Knowledge Organisers (AKA Placemats, Knowledge Mats etc.)

I’ve seen knowledge organisers with the entire topic on one sheet. All the content a student needs to know. It makes me question why the student needs to listen, to participate in the lesson, to do the tasks set by their teacher. If they have everything they need to know in front of them, surely it encourages students to ‘switch off’. Some may argue that students have KOs in order to then apply the knowledge, but I fear this reduces their ability to retrieve information.

I prefer to use KOs or placemats as they were originally intruduced to me to provide a basic outline of the content students generally struggle with.

For Geography for instance I often find students confuse the 3 tectonic plate boundaries and find it hard to visualise convection currents.

placemat.png

In History it tended to be the sequence of events, names and places.

placemat History.png

Therefore I created a basic visual summary for my students to collect if they so desired. These mats would consist again of the very basics to support my learners.

I also encourage students to create their own KOs at KS5 and hope to implement this into KS4 in due course. In order for my KS5 students to do this I’ve created KO sheets with blank boxes, except for a question or statement in which they respond to in order to collate the knowledge they need to demonstrate thus retrieving and revising the content for use later on.

KO ks5

KO ks5 2

4 // Revision

I refuse to give students the content they need to know in the form of a booklet or similar in order to revise from. Sorry, but they should get that from lessons, why else bother going to lessons if it’s not to learn the content?!

Instead for I provide a variety of resources to support my students.

To start with for each topic students receive an AfL grids with an outline of the topic content. At the start of the topic students self-assess their prior knowledge and then at the end their understanding of the topic in order to highlight the areas for future revision.

Then in regards to revision of the content I’ve created how to revise guides to help students to develop an ongoing approach to revision as well as teaching retrieval strategies and exam technique in class.

In addition I’ve created case study templates for students to complete to summarise the case studies and examples explored. To support revision these have been combined into a case study and exam question booklet so students can also apply the content to exam style questions.

gcse revision

All these strategies require my students to do the work and be responsible for their own learning and progress. I’ve provided the resources, taught the content and given them the support they need to succeed but it’s up to them to actually learn what they need to know for the exam.

5 // Inquiry/Enquiry based learning

At my school we have a real ethos for developing inquirers. I love that we do loads of inquiry based learning across the school. Students get to question, research and develop their curiosity throughout.

In KS3, at the start of each unit, my students write down questions. These questions influence my planning, the resources I use and the lesson objectives over the course of the topic. Students are the driving force of the lesson content. I teach the same year group the same topic to reach the same outcomes but the approach varies dependent on the class questions.

Now that I’m settled in my ‘new’ school for a full year, I’ve seen the progression students make through this approach. Enquiry truly develops their curiosity and interest; they constantly challenge me to further my subject knowledge and keep it up to date as their questions get us exploring aspects I’ve missed in the past or thought not relevant when planning schemes of work.

Through their questioning comes exploration, analysis and evaluation; deepening their understanding and I love it.

How do you develop independence in your learners? Feel free to leave a comment or get in touch.

Mrs Humanities


1 Comment

Classroom Ideas – Information Collectors

I love using resources with students that encourage them to discover information for themselves. I regularly use information collectors with my classes right from from KS3 to KS5.

They are a simple concept, an A4 sheet laid out so that students can collect relevant information from the sources of information provided. Students are required to read the information, watch videos or carry out their own research to find the required knowledge.

Here are some examples…

info collector 3 gorges damks5china

Once students have had access to the resources for a desired time I get them to feedback by handing out whiteboard pens and having the students add information to a copy projected onto the whiteboard.

As students add to the whole class version we discuss additions and students add to their personal copies. These are then used in the creation of another piece of work such as an extended piece of writing, a project or an essay.

I encourage my older year groups to take a photo of the board and either print it out or use it to add detail to their notes.

Hope this gives you some inspiration.

Mrs Humanities


31 Comments

Zombie Apocalypse Atlas and Map Skills SoW

I have a confession, I really like post-apocalyptic fiction.  Last year I wanted to take some of this enjoyment and create some tension and fun in the classroom.

I decided to make my favourite resource of all time, a geographical scheme of work based on the concept of a disease spreading around the world, through Europe and into the UK. I wanted to add a sense of excitement and tension through challenges that led to learning and the practice of key geographical skills.

I spent a number of hours last summer creating the perfect project and thoroughly enjoyed teaching it. Unfortunately my students at the time didn’t quite get my enthusiasm and eagerness, oh well.

Within this scheme of work is a booklet, as students work through the activities they have challenges to complete in order to find their way to safety.

They start with 12 hours (6 lessons), each mistake they make in the work costs them 1 day. Their challenge is to make it to the end with as many ‘days’ left as possible.

Front page.png

Ideally students work in groups to complete the challenges, sharing the workload and supporting one another through the tasks. Each mission is essentially a lesson depending on the ability of your students.

Missions look something like this…

Mission Objective 1 – Map Infected Cities across the World
Mission Objective 2 – Decode the message, find the identified locations
Mission Objective 3 – create a map to show the spread of the disease in the UK
Mission Objective 4 – Locate supplies and feed directions to the team on foot
Mission Objective 5 – Locate and Find Survivors
Mission Objective 6 – Locate to Safety

There’s plenty of room for extension for your more able students with Missions to Extend at the end and possibility for differentiation throughout.

extension.png

In addition each mission has success criteria and resources for self/peer assessment.

sc.png

answers.png

So I guess here’s the part you’re waiting for… the resources.

Yes… they’re coming.

You can find them here for free, all I ask is that you do not edit and share.

download here

Feedback is welcomed!!!

Hope you can make use of it.

Mrs Humanities

Creative Commons License
MrsHumanities Zombie Map and Atlas Skills by Victoria Hewett is licensed under a Creative Commons Attribution-NonCommercial-NoDerivatives 4.0 International License.


2 Comments

#TMHistoryIcons Presentation – Developing Independence in the Humanities Classroom

This is several months late, but here’s my presentation from #TMHistoryIcons.

DevelopingIndependenceFinal

In my presentation I outlined some of the ways I’ve been working on developing independence in my classroom.

Strategies I outlined included

Here’s a few of the slides.

This slideshow requires JavaScript.

It was an absolute pleasure to present amongst so many excellent practitioners, can’t wait until next year.

Any questions feel free to ask.

Mrs Humanities


7 Comments

Developing Independent Learners – The ‘Help Yourself’ Resource Station  

help yourself resource stationThrough the course of the last academic year one of my aims was to develop more independence in my learners.

I tried several approaches which I’ve documented in other posts, including seating plans, GCSE help yourself display and attempts at flipped learning.

I’ve learnt so much from the process as have my students, particularly those in year 7 and 8.

The ‘Help Yourself’ Resource Station was probably the most successful approach.

What is it?

Quite simply the ‘Help Yourself’ Resource Station is a table and display board with resources that will support my students in their learning.

It includes a wide range of resources and templates that students can access freely to support their learning.

20160108_16202820160108_162033

What’s included?

The display board contained resources for each year group on the topic they were currently studying. These could have been in the form of information sheets, activities or worksheets.

In addition students had access to DIRT sheets and a support sheet for using historical sources and later the 5 Minute Help Yourself sheet.

At times, other useful information got added to the space on the board such as project sign up sheets and reminders.

The table contained a wide variety of relevant resources that students can help themselves to in order to scaffold and support their learning.

Resources included

-Literacy mats

literacy mat
– Timelines support sheets

timeline
-Note taking laminatenote taking laminate
-Key word lists

key word lists
-Topic support mats (placemats)

topic placemats

-Humanities Skills Mats such as the Using Sources Support Mat

skills mats.png

-Self and peer assessment sheets

self and peer assessment

-Templates and blank maps for classwork

templates

Along side the resources there were whiteboard pens and equipment available for students to access when required.

How is it used?

Once set up the resource station runs itself, you will need to monitor and replenish now and then but on the whole it’s pretty simple.

Students  collect the resources they need based on their own decisions or your guidance. At first it took some training but by the end of the year students were happily helping themselves to the required resources.

For example I had some students that needed spelling support, they’d help themselves at the start of the lesson to the key word list and their literacy marking would focus on the correct spelling of those key words. If they spelt the word incorrectly, they would use the key word list to find the correct spelling and write it out 3 times and within a sentence. at first it took some reminding but eventually they become independent in the approach (with fewer spelling mistakes).

Often main activities in my lesson have an opportunity for choice in presentation and format, the templates and blank maps work effectively for this allowing students to make their own decisions in how they present their work.

Success?

Personally I feel it’s enabled many of my students to become more independent in their learning, in particular the high and middle ability. I felt low ability students needed more encouragement to use the resources available to them but eventually some of them were accessing them without prompt.

If I were to change anything I’d add a challenge section with generic activities that could be applied to any topic.

The Resources

I’ve uploaded a load of the resources I’ve used here. Many of them I have not made from scratch and instead have used or amended resources I’ve collected over the years. If one of them is your, please let me know and I will add credit where credit it due.

If you have any questions about the ‘Help Yourself’ Resource Station, just ask.

Hope you’ve been inspired.

Mrs Humanities


2 Comments

Developing Independent Learners – Attempts at Flipped Learning

During Term 3 and 4 of this year I attempted flipped learning with one of my year groups. I came to the decision to attempt it based on their feedback, however it didn’t work out as effectively as I’d hoped.

This post will outline my approach and top tips, success and failures could be a whole other post.

Approach

Pre-Learning/ Homework

For a unit of work on rivers I wanted a particular year group to take some independence in their learning. I set up week by week pre-learning activities on SAM learning*.

Each activity would introduce key concepts, processes and vocabulary – the activities were always supported by a video or web link that students could use for extra support. The weekly activities were based around reading some information or watching a video clip and then either answering some multiple choice questions or fill the blanks. .

The activity for the term was  to create a project on rivers – this could be in any chosen form such as booklets, posters, models with info sheets, videos, PowerPoints etc. Their creativity was their only limit. I really didn’t mind how they presented their understanding.

Classwork

In the first lesson students were given a prior knowledge entry ticket, they were introduced to the project and given task sheets. Everything was explained to them and an introduction to rivers was given.

task

Each week then had a different focus.

  • Week 1 – Planning and research
  • Week 2 – Features of a River Drainage Basin
  • Week 3 – River Processes (erosion and weathering)
  • Week 4 – River Processes (transportation and deposition)
  • Week 5 – River Landforms (waterfalls and gorges)
  • Week 6 – River Landforms (meanders and ox-bow lakes)

The pre-learning covered the topic for the following week

  • Week 1 – Features of a River Drainage Basin
  • Week 2 – River Processes (erosion and weathering)
  • Week 3 – River Processes (transportation and deposition)
  • Week 4 – River Landforms (waterfalls and gorges)
  • Week 5 – River Landforms (meanders and ox-bow lakes)
  • Week 6 – Revision

Students were given the learning matrix for the topic which outlined the success criteria and how they could work their way up each band.

matrix

It outlined the ‘Need to Know’ questions and the links to the assessment objectives as well as outlining what they needed to demonstrate in order achieve each bronze, silver or gold in the topic.

Each lesson students had access to a variety of resources including information sheets in the ‘Help Yourself’ station, textbooks, revision guides and their SAM learning work. On occasions students also had access to iPads.

Assessment of Learning

— Prior Knowledge Entry Ticket

At the start of the topic students were given a prior knowledge entry ticket that looked like this.

prior knowledge

Students simply ticked off what they thought they knew. This was rather interesting to identify their starting points and perceptions on what they thought they knew. For the first few lessons I would question students based on what they thought they already knew, later I would question them on what they identified as not understanding. Students came back to this in the final week and in a different colour ticked off what they knew again.

– – Entry Tickets

At the start of each lesson students were given a entry ticket on arrival, before getting on with their projects they had to complete and peer assess the entry ticket. If students struggled with any aspects or did not achieve 80% they would be invited (or instructed) to attend an in lesson (or sometimes out of lesson) tutorial to support their learning.

— RAG Rated SAM Learning Activities

Each week I could see a RAG rating of student understanding. If a student achieved less than 60% they would have a tutorial in the lesson whilst the rest of the class carried on with the activity.

— Learning Matrix

Once in lesson tutorials were undertaken and students felt confident to move on, I would spend time discussing the work and providing feedback to students on their progress to far. To do this we would first look at the need to know questions and students would identify which ones they felt they had addressed so far. Next we looked at the banded success criteria and again students would identify the criteria they felt they achieved so far, I would then look at their work and discuss it with them. Whilst i did this I would highlight the criteria they had achieved in yellow and if there was something I thought they could do to improve I would highlight the criteria in pink.

Students then had the opportunity to go away and try to achieve the highlighted criteria, later on they would get it checked and signed off by me.

Top Tips

  • Introduce pre-learning over time – don’t introduce it all at once, embed  pre-learning over time and slowly introduce the use of pre-learning into several lessons over the term. Once achieved then introduce it across the whole term.
  • Use entry or exit tickets – these were a fantastic way of assessing student understanding. They were simple in terms of what they assessed – recall of subject knowledge – but allowed for instant feedback on what students were understanding from the SAM learning activities,  tutorials and classwork.
  • Use an electronic system for pre-learning – having access to a system such as SAM Learning meant I could track who was actively accessing the resources at home, how many attempts they made at the activity and if they were making progress over time in the scores achieved.
  • Give it a go – although I will put my hands up and say it wasn’t a complete success this time, I discovered more about my students and their ability to work independently; there were those that really struggled and just couldn’t cope and those that thrived with the opportunity  whilst there were also a whole load in between.
  • Finally have a back up plan – if you find individuals or groups of learners are not able to access the learning in this manner (which you will) ensure you have a back up. I ended up with one class split into those that worked with me in the usual style whilst the rest of the class worked independently, checking in with me for support and feedback when necessary.

I will save my success and failures for another time.

If you were thinking of trying flipped learning, I hope this post has given you ideas.

Feel free to ask any questions.

Mrs Humanities

*Note: I am not affiliated with SAM Learning in anyway, I’ve not been paid or asked to promote them either. I’m just referring to them in reference to my experience. There are many other fantastic sites that provide a similar service or opportunities for flipped learning including Edmodo, Show my Homework and Google Classroom to name just a few.


9 Comments

Need to Know Learning Matrix

learning matrixThis year grades 1-9 were  introduced into the tracking system for Key Stage 3. I struggled at first, in fact I still am, but the Need to Know Learning Matrix were my approach to tracking progress over the term for each of topics studied.


Not only does it allow me to track progress, outline Schemes of Work to the students and provide feedback, it encourages independent learning and reduces the time i spend marking and writing extensive feedback.

I started the year with simply listing need to know questions and success criteria but then realised that by coding the criteria I could provide quality feedback without the extensive write comments in the students books.

I simply use two different colour highlighters, fill in the key and highlight the coded success criteria. Firstly I highlight the criteria achieved in one colour, then highlight the criteria I would like the students to attempt in another; once this criteria has been achieved I simply tick it off.

matrix

I quickly l took to writing WWW and listing the criteria codes followed by the level up steps and the criteria codes I wanted the student to work on during DIRT. Sometimes I just write the criteria code with a tick to indicate it’s completion.


For lower ability students I may write questions to support them in achieving the coded criteria with a box to indicate the expected length of the answer.

level up2

If this has intrigued you can download my Need to Know Learning Matrix template here.

I’ve also uploaded a number of them on to TES, feel free to download and leave feedback.

Hope they’re of use.


Mrs Humanities